
Intraoral Dental Photography: A Practical Guide for the Modern Practice
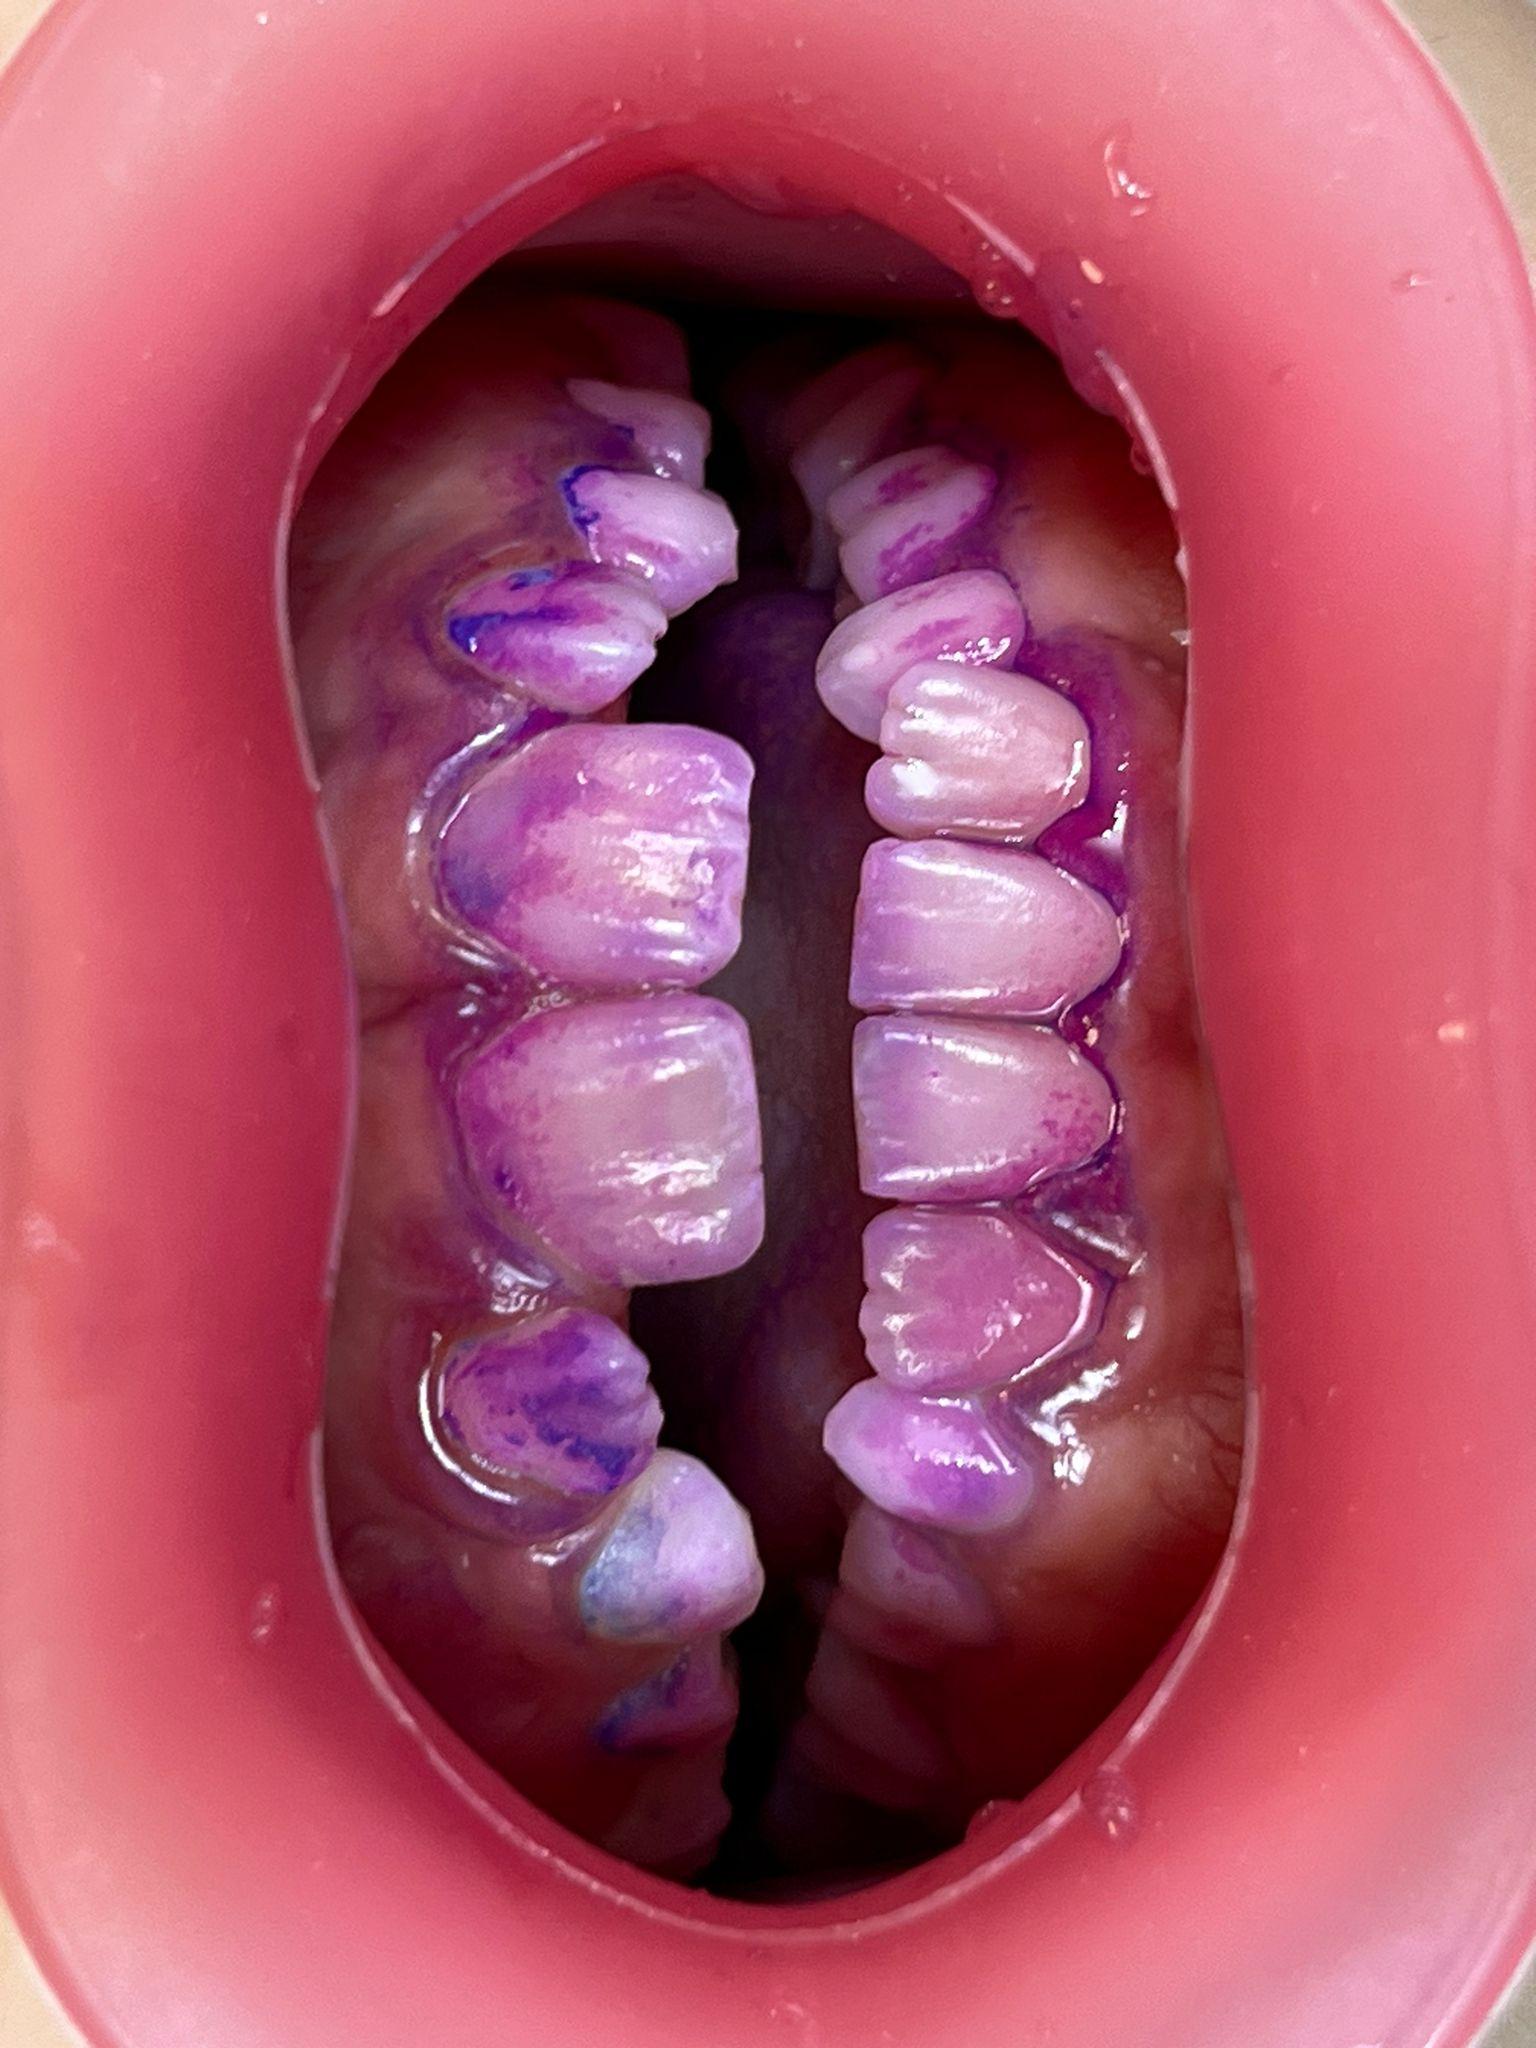
Quality intraoral photography is no longer a luxury – it is a tool for case documentation, lab communication, patient case acceptance and practice marketing. This practical guide covers what you need and how to capture consistent, professional images.
1 The kit basics
You do not need a studio. A camera capable of macro (a DSLR or mirrorless, or a modern phone with a macro mode), diffused or ring lighting, intraoral mirrors, a retractor and a black contraster are enough. The key is not expensive gear but a consistent workflow.
2 Retraction and field control
Without cleanly retracting lips and cheeks you will not get an unobstructed view of the teeth. A soft retractor the patient tolerates lets you work calmly and repeatably. Our size guide covers picking the size; our complete retractor guide covers why reusable silicone.
3 The black contraster
A matte black background behind the teeth absorbs reflections and isolates the anterior segment, so shape, colour and texture stand out. That is exactly why VisionButler has a matte black surface – it doubles as a photo contraster. More on its role in our dental photography article.
4 Standardization for comparable images
Photography earns its value when it is comparable. Keep a consistent angle, distance, exposure and background – only then are before-and-after images meaningful. Build a simple protocol and repeat it for every patient.
5 Common mistakes
6 Putting it to work
Standardized images speed up lab communication (shape and shade), increase case acceptance (the patient sees their condition and the result) and serve as credible content for your website and social media.
Conclusion
Good intraoral photography rests on three pillars: clean retraction, a black contraster and a consistent workflow. VisionButler covers two of them at once – as a soft retractor and as a built-in contraster. Order VisionButler and take your case documentation to a professional level.