
How to Use a Black Contraster for Anterior Tooth Photography
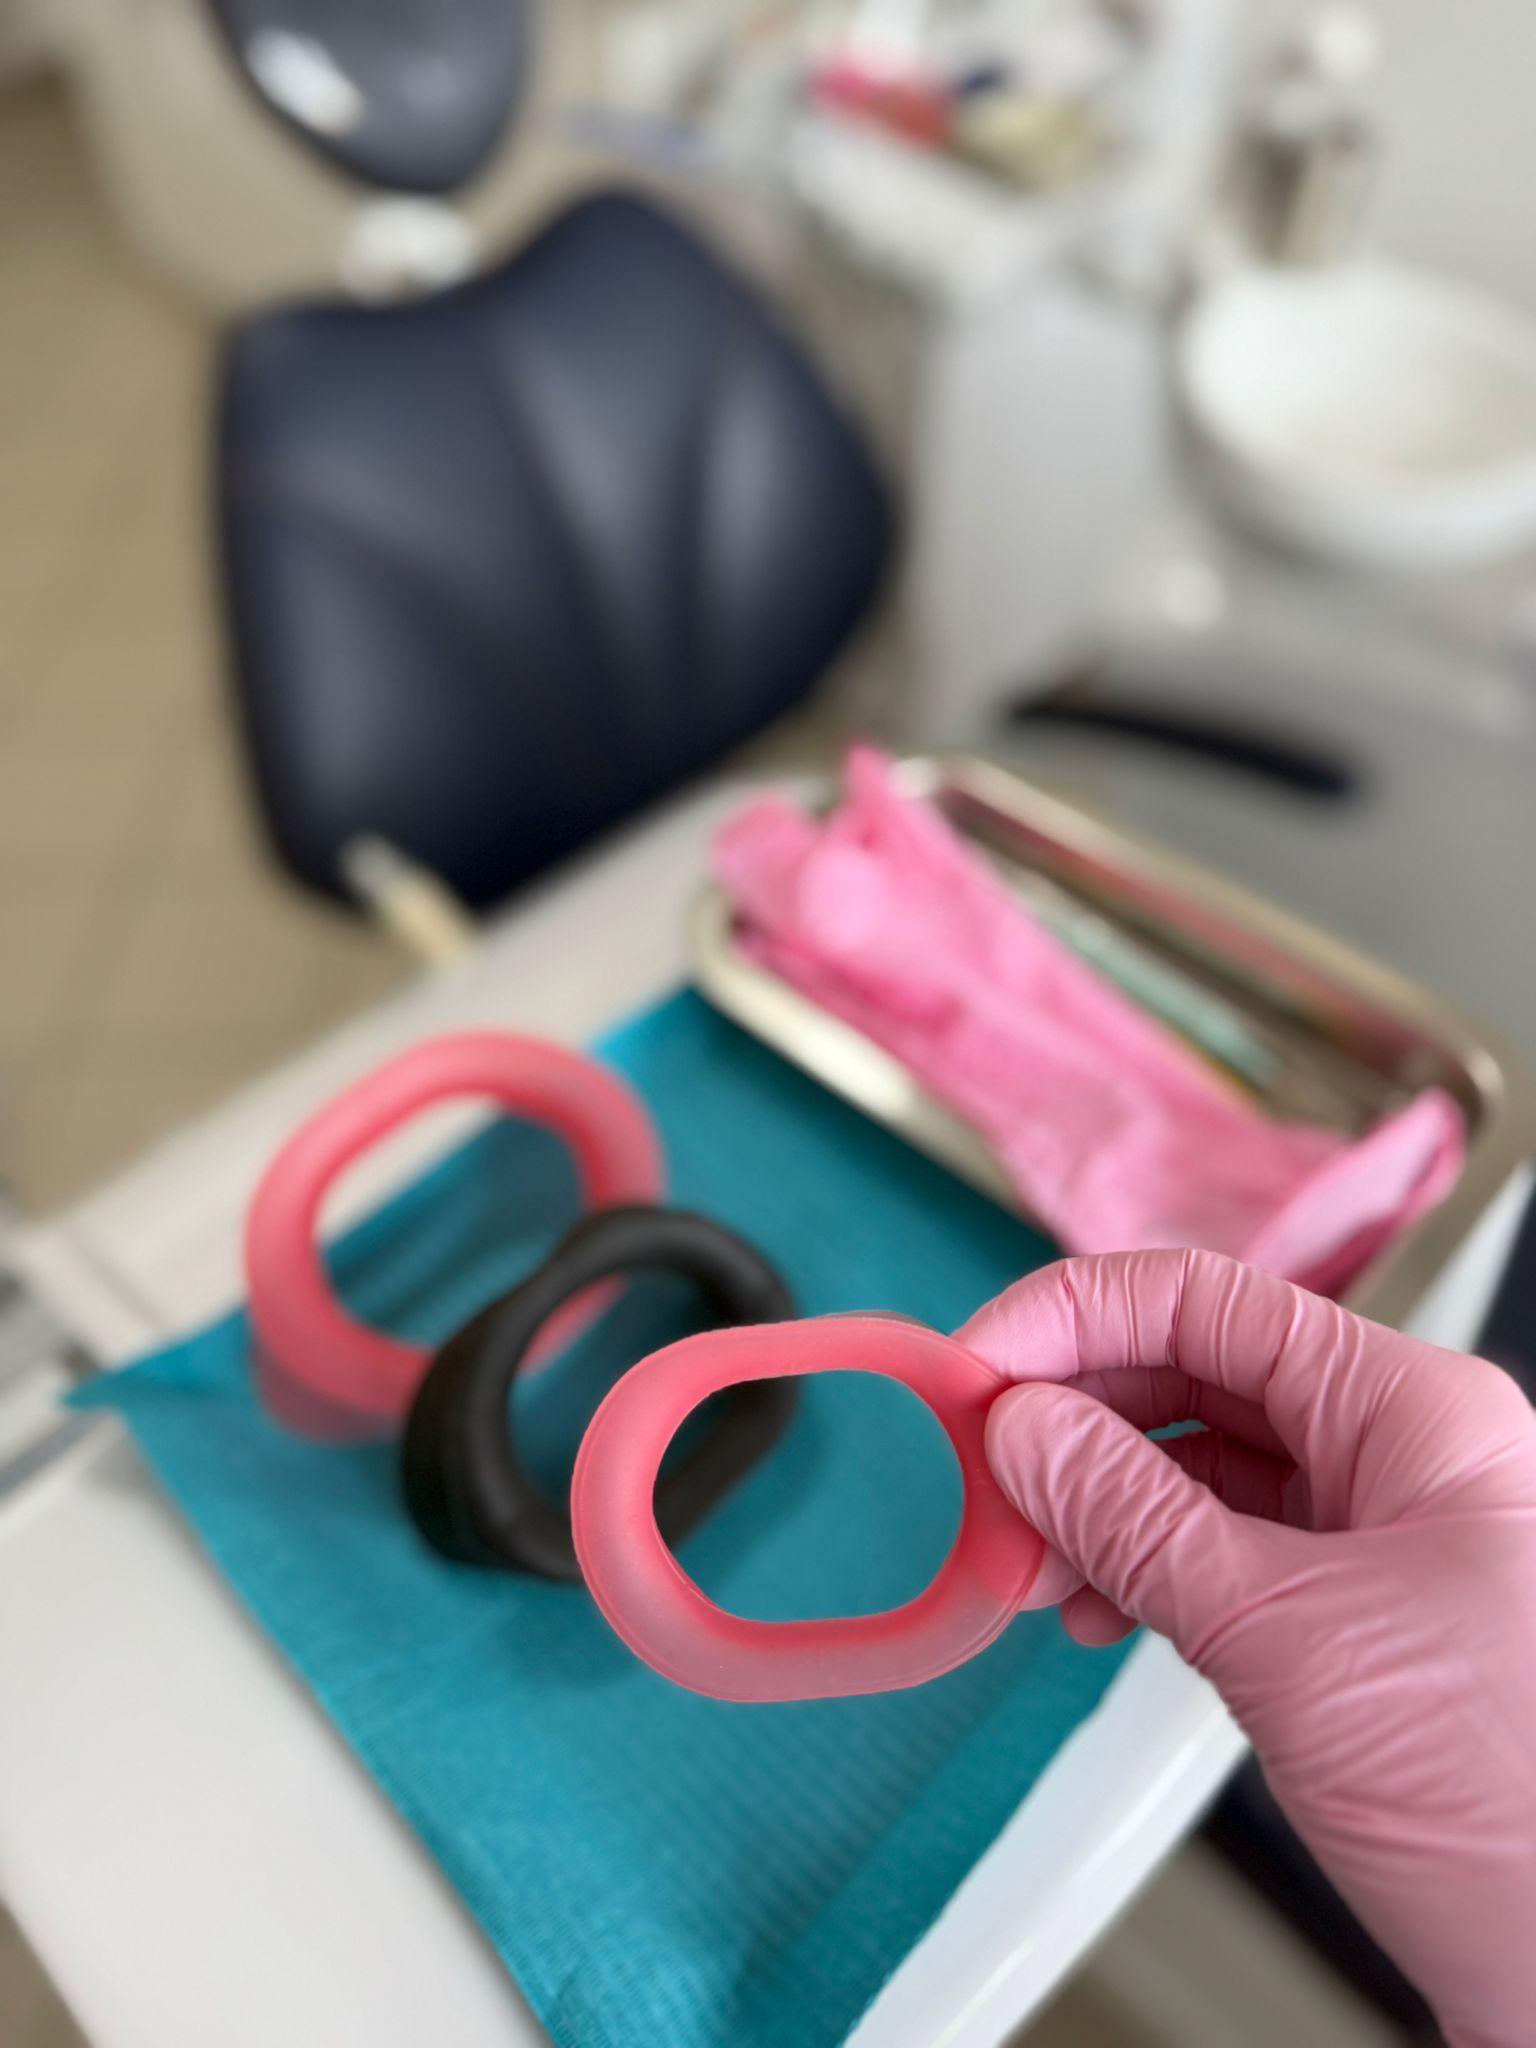
Anterior shots – the incisors and the smile zone – are where shade, translucency and texture matter most. And that is exactly where a black contraster makes the biggest difference. Here is how to use one step by step.
1 What a contraster does
A matte black background behind the teeth absorbs light and removes distracting structures – the tongue, palate and posterior teeth – that would otherwise be in frame. The anterior segment is isolated, so incisal translucency, shape and surface texture stand out.
2 Positioning the contraster
Place the contraster just behind the teeth you are photographing and angle it to block the background of the mouth. Keep it slightly off wet surfaces so it does not fog. VisionButler's matte black surface fills this role directly – no extra accessory needed.
3 Step by step for an anterior shot
4 Common mistakes
5 When to use it
Shade communication with the lab, anterior aesthetics, before-and-after whitening shots (see our whitening retractor article) and case presentation to the patient.
Conclusion
A black contraster is the simplest way to lift anterior images from "documentation" to "presentation". VisionButler has it built into its matte black surface – and it doubles as a retractor. The full workflow is in our intraoral photography guide. Order VisionButler.